Manchester
Learn the basics of framing with
Nick in Manchester
High wycombe
Learn the basics of framing with
Linette in High Wycombe
| Topics covered | Basics of Framing | Art & Photo Weekend |
|---|---|---|
| Identifying the key elements of a framed picture. | ||
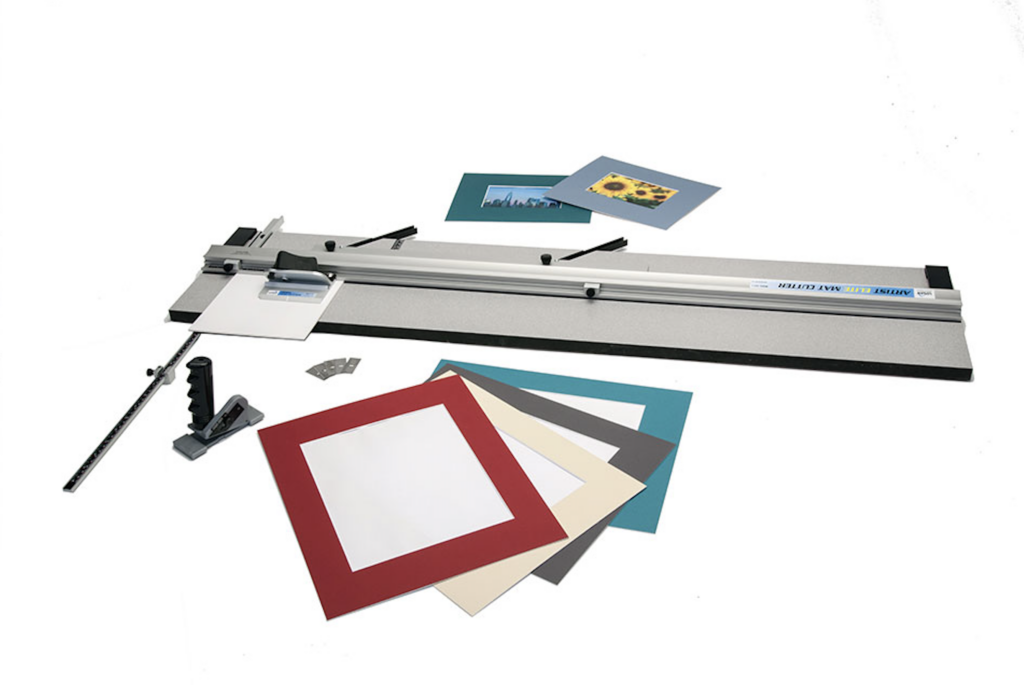
| How to cut a standard mount using specialised tools, for the mounting of a picture. | ||
| Basic methods for attaching a picture to the mount. | ||
| Cutting picture mouldings and joining them to create a frame for the mounted picture. | ||
| Cutting the glass and backboard to fit the frame. | ||
| Assembling the framed picture, including sealing the picture back and adding a hanging cord | ||
| Explore the different presentation and displaying techniques available when mounting a picture. | ||
| Discover and choose the right mount & style for your artwork. | ||
| Learn how to cut double mount. | ||
| Learn how to cut shadow mounts. | ||
| Learn how to float mounts. | ||
| Learn how to plan & cut a multi-aperture mount with several openings for a group of photos. |
🏅 Celebrate the Finish Line: 10% Off Medal & badge Bespoke Framing instore🏅
✖
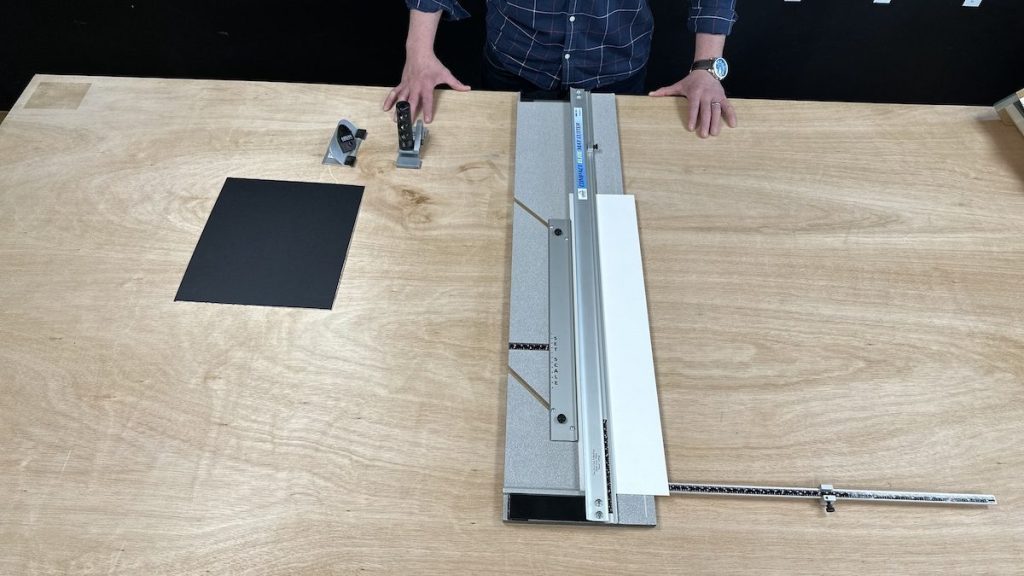
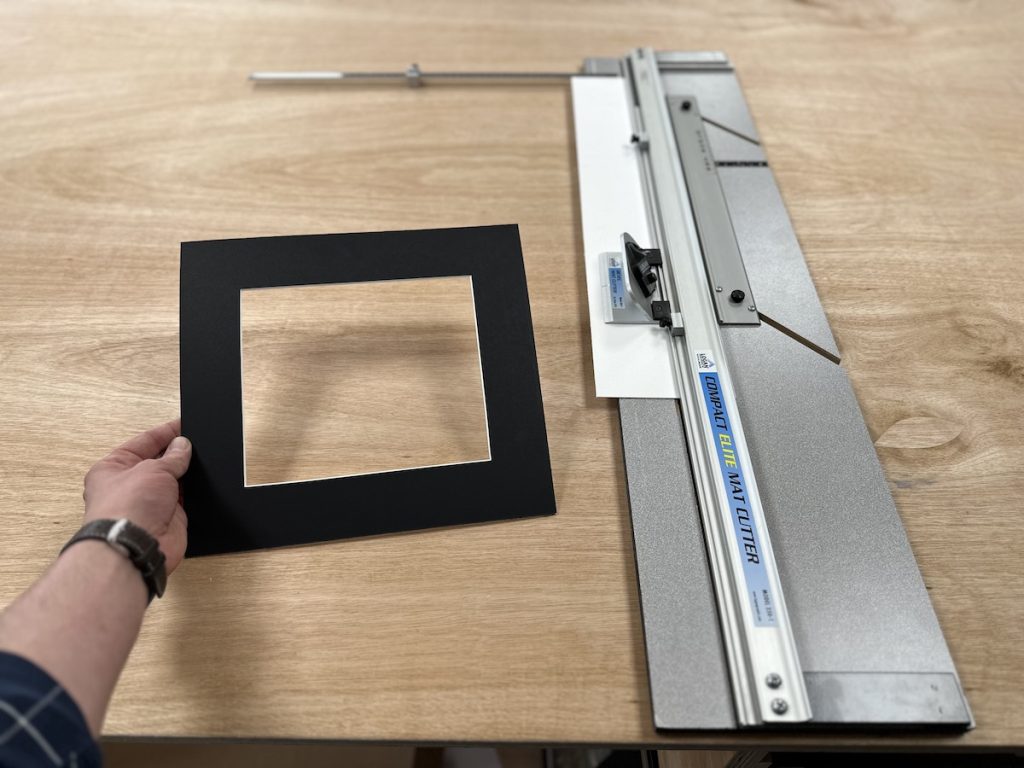
In general the Logan mount cutters are designed for right hand use. However, like everything there is a trick to be able to use mount cutters left handed.
There are two types of handheld cutters, I will explain how to use both with your left hand.
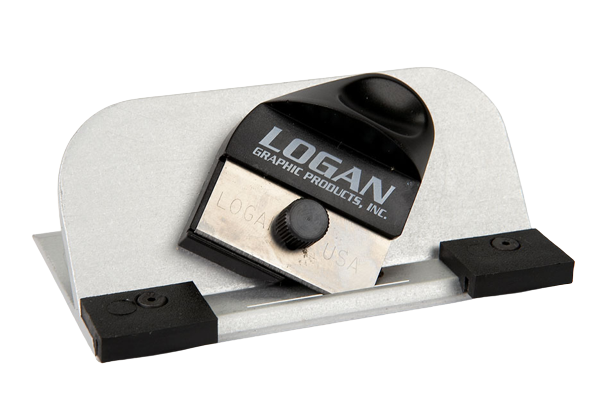
Click on the image to visit instruction
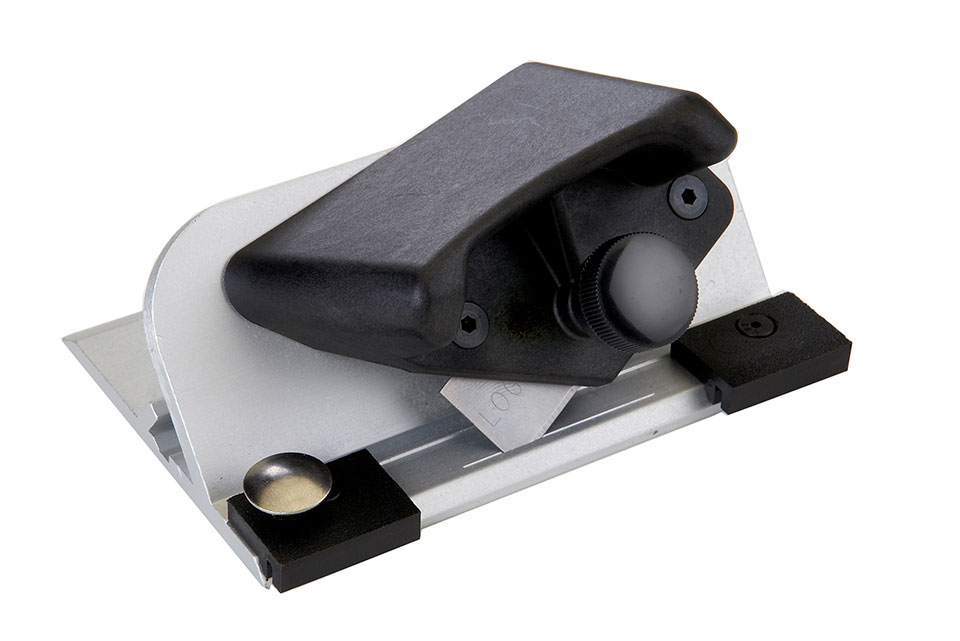
Click on the image to visit instruction
Use this table below
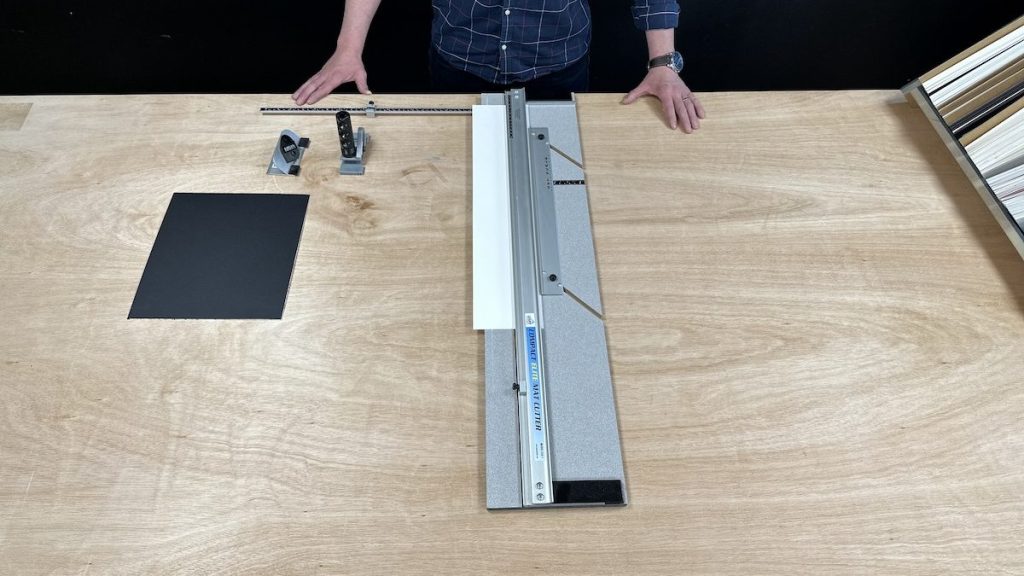
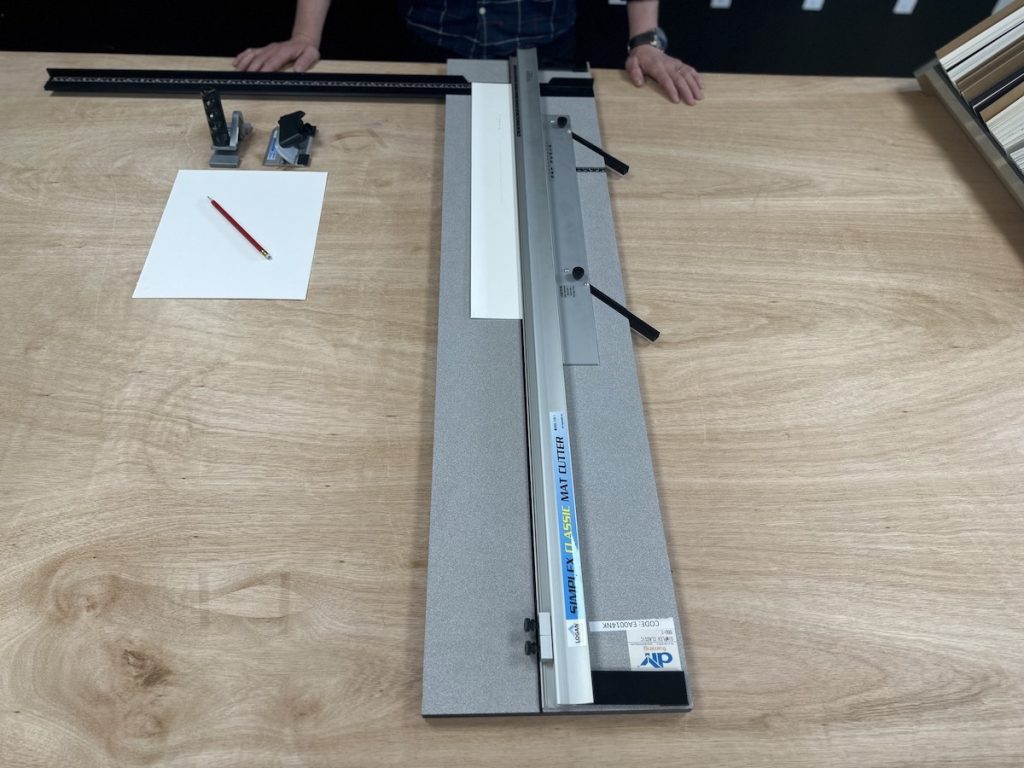
Set up your mount cutter as explained in the manual. Once it’s set up, lay it out as if you were going to use it right handed.
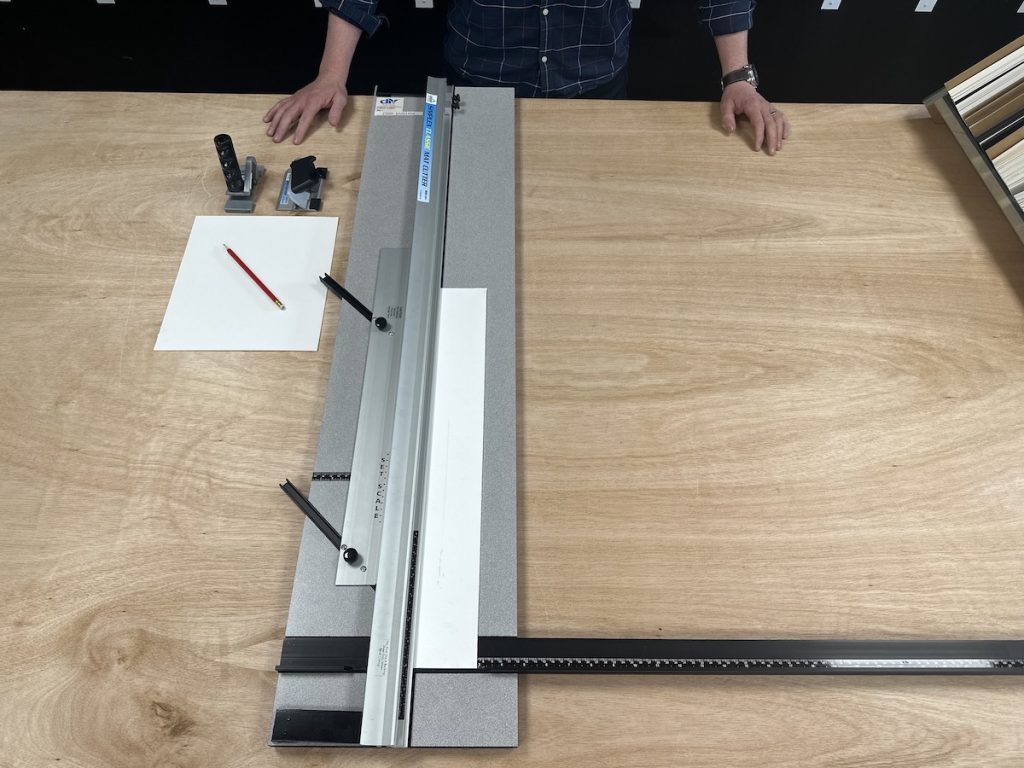
Turn the mount cutter 180 degrees so the mount cutter is facing the opposite direction.
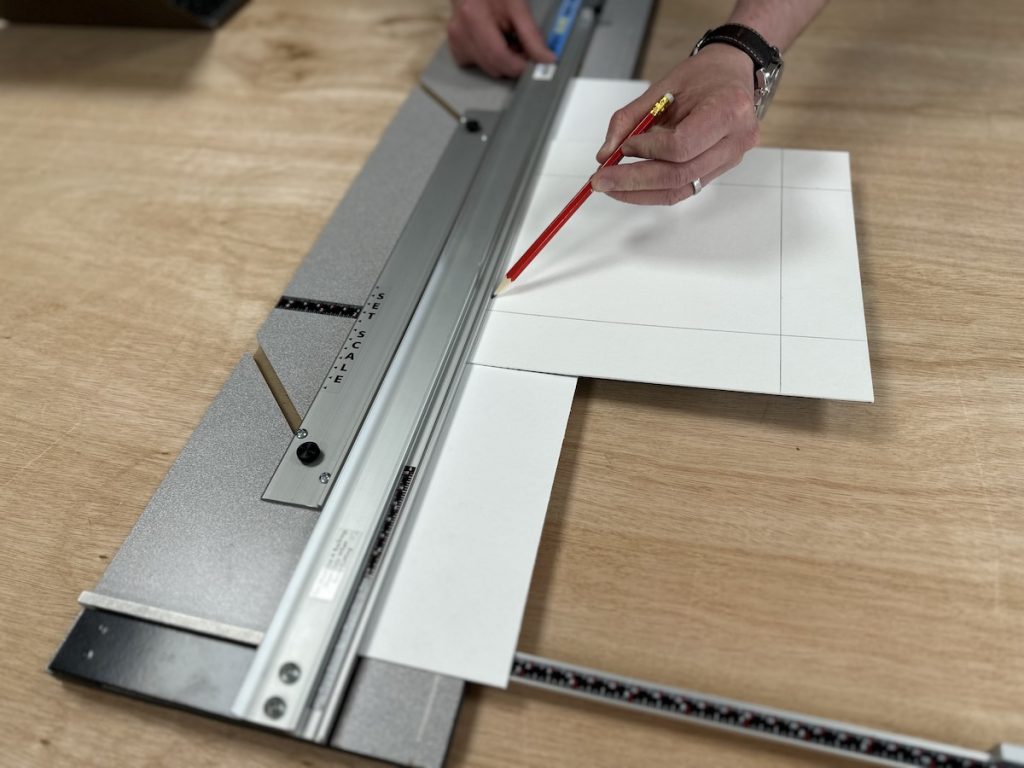
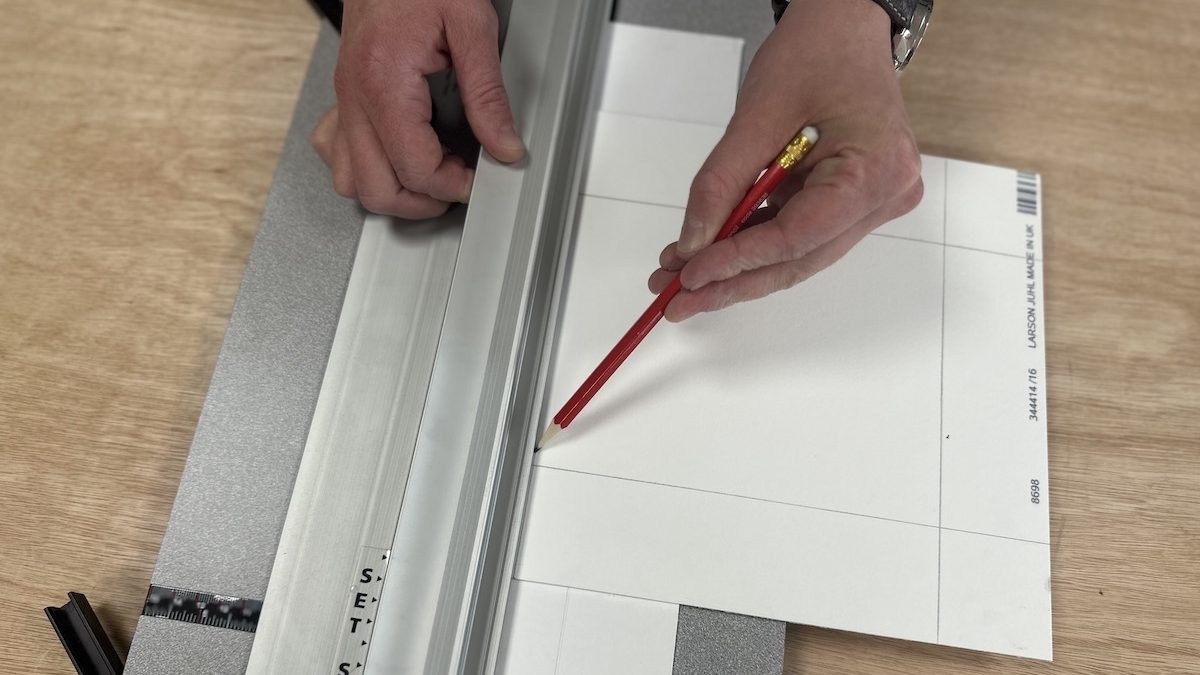
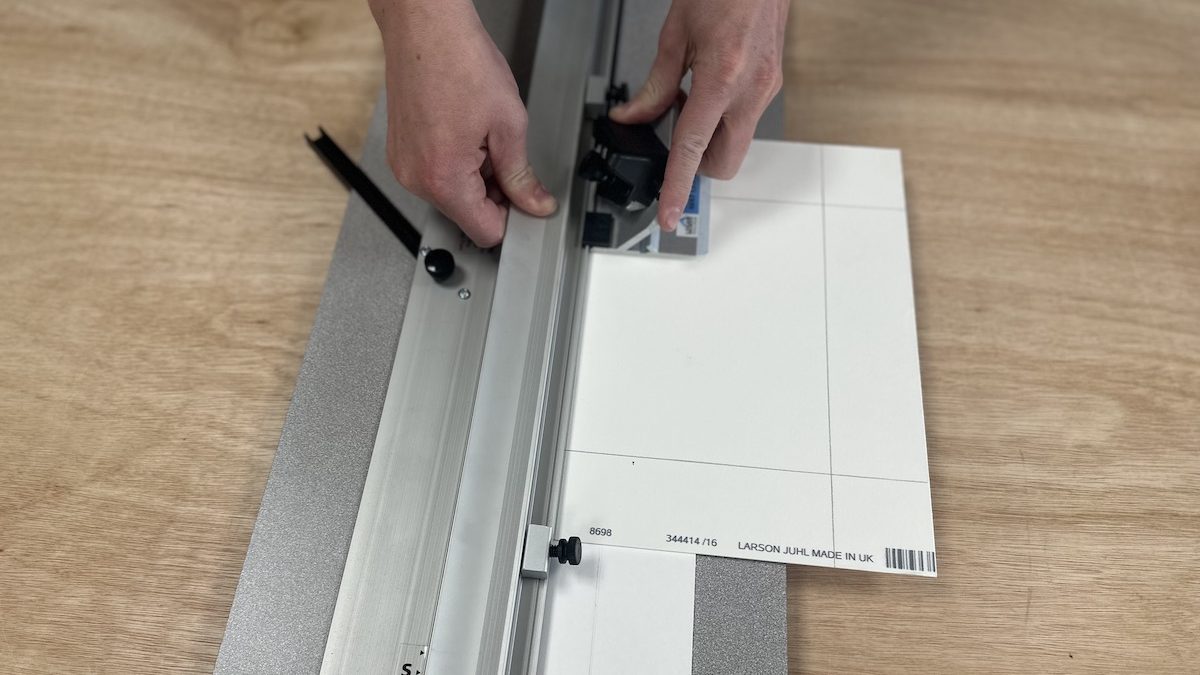
To measure and draw your cutting lines simply move the mount guide/border Gauge to the desired size. Then lift the Guide rail and slide your mount (good side facing down) under the rail until it butts up against the Mount guide/border gauge. Then gently close the guide rail down on top of the mount board. Get a sharp pencil and run a line along the edge of the rail guide. Repeat this on all the sides.
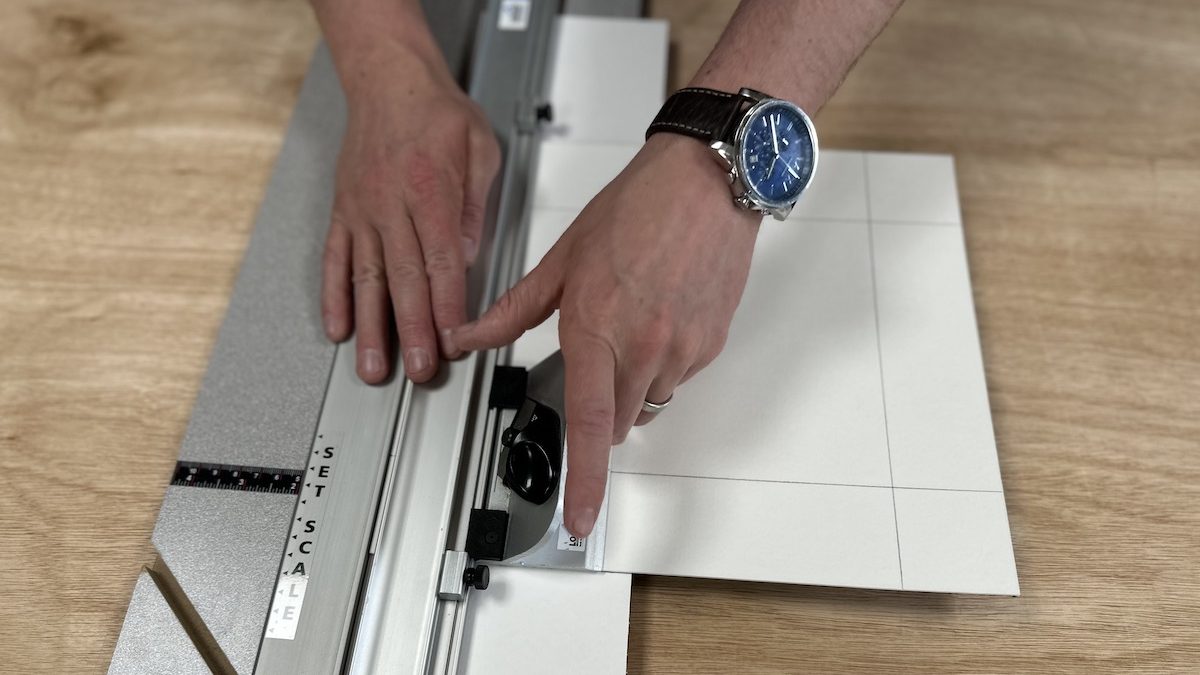
Now you have drawn your lines, leave the mount under the rail guide and make sure your drawn lines are inline with the rail guide. Then take your push cutter and place it on the line furthest from you making sure the line on your cutter and mount board line up.
Then the trick here is to use the cutter as a pull device rather than a push. Use your right hand to hold the cutter still and use your left hand to push down the cutter blade. From there, your right hand can let go and return to the rail guide to keep the pressure down. Your left hand will move to a position where you keep the pressure on the cutter blade level and use the rest of your hand to pull the cutter towards you.
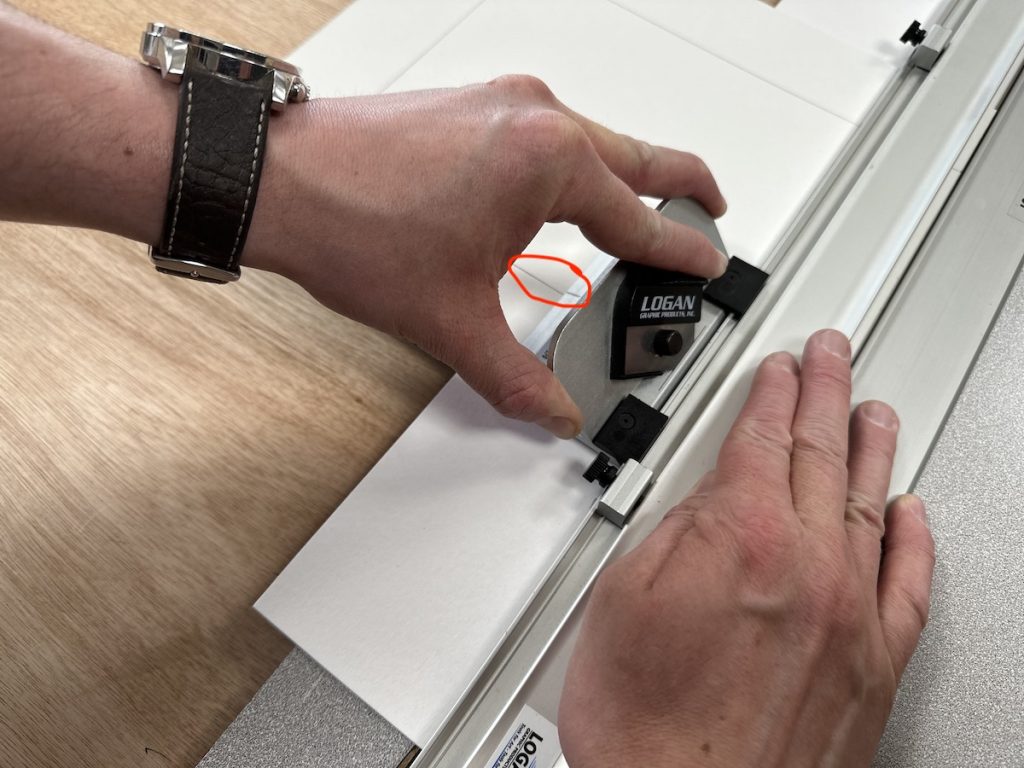
If you hold the mount cutter as demonstrated in the image you can see the line through the gap in your hand. Additionally there is no squaring bar to push up against, take your time and make sure you’re applying the correct pressure to keep the mount in place. Remember to use of the production stops to make sure you don’t make a cut past where you intended.
Repeat steps 4 and 5 for the remaining cutting lines to finish your window mount.
Using a Pull cutter left-handed is very similar to using a push cutter in technique. Please be aware that when using a 550-1 left handed the squaring arm will not be usable.
Set up your mount cutter as explained in the manual. Once it’s set up, lay it out as if you were going to use it as a right handed person would.
Turn the mount cutter 180 degrees so the mount cutter is facing the opposite direction.
To measure and draw your cutting lines simply move the mount guide/Border Gauge to the desired size. Then lift the Guide rail and slide your mount (good side facing down) under the rail until it butts up against the Mount guide/border gauge. Then gently close the guide rail down on top of the mount board. Get a sharp pencil and run a line along the edge of the rail guide. Repeat this on all the sides.
Once you have drawn your lines, leave the mount under the Rail guide and make sure your drawn lines are inline with the Rail guide. Place the pull cutter on the line closest to you, making sure the line on your cutter and mount board line up.
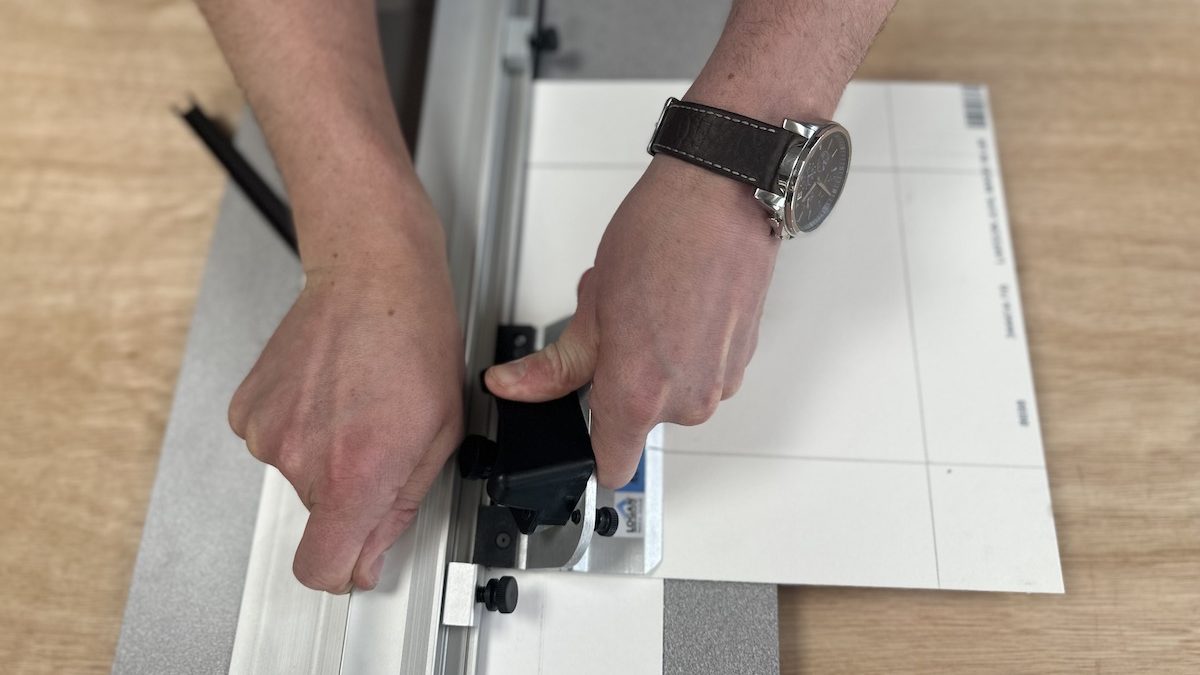
Use your right hand to hold the cutter still and use your left thumb to push down the cutter blade. From there, your right hand can let go and return to the rail guide to keep the pressure down. Your left hand will move to a position where you keep the pressure on the cutter blade level and use the rest of your hand to push the cutter away from you.
As there is no squaring bar to push up against, so you need to be sure you’re applying the correct pressure to keep the mount in place.
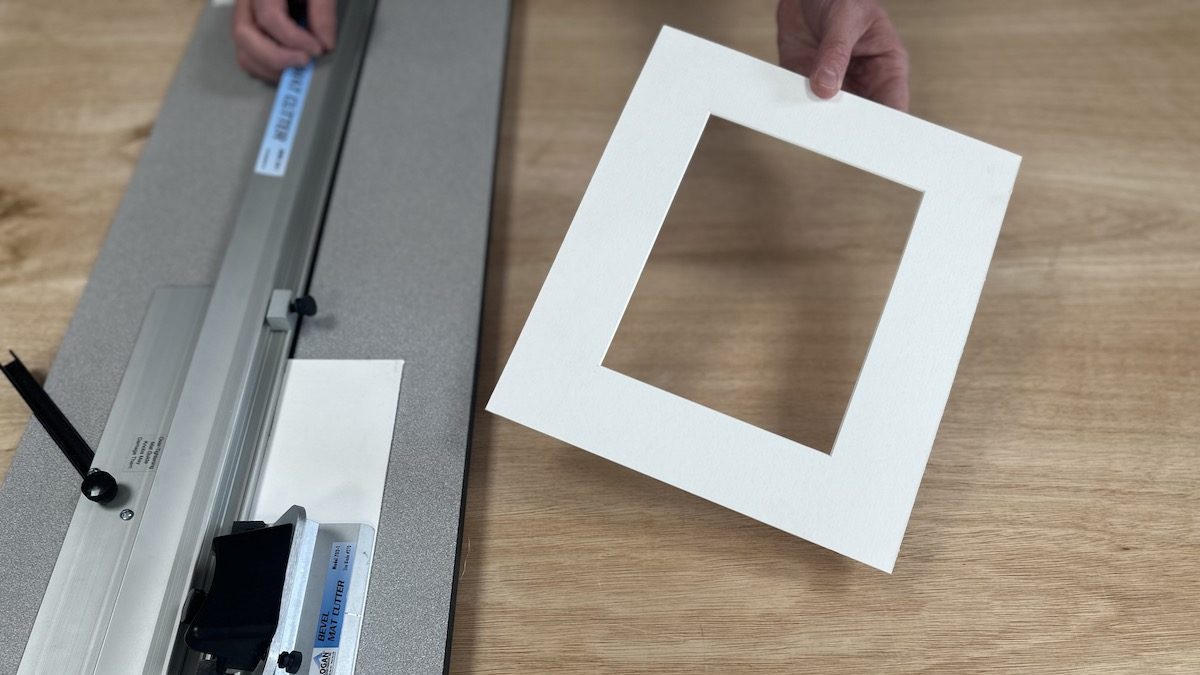
Repeat steps 4 and 5 for the remaining cutting lines to finish your window mount.
Get in touch
9.00 AM – 5:00 PM
Monday – Friday
🕻 01494 459545
✉️ sales@allaboutframing.com
Click here to view our framing courses
Our online chop service is the easiest way to build frames, enter your required size and our team will cut and mitre your choice of mouldings to ensure perfect framed corners.
Use our router service for an easy joining solution
We provide custom and bespoke framing services in store, get in touch to book a consultation with one of our framing team to build your perfect frame!
🕻 01494 459545
9.00 AM – 5:00 PM
Monday – Friday


